Integrate Zoom with Klasio as an Admin
You need to be an administrator of the Klasio account to be able to integrate Zoom for live classes. Here are the exact same steps to integrate Zoom with Klasio:
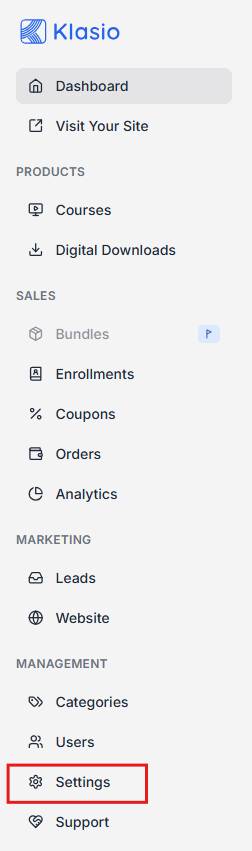
- From your admin dashboard, go to Settings.(It’s located under Management)
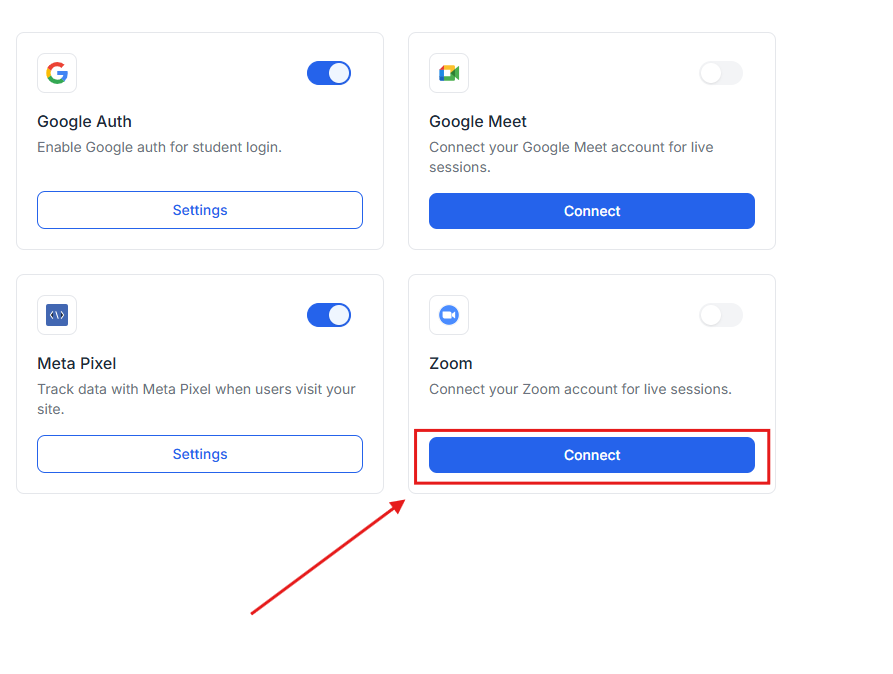
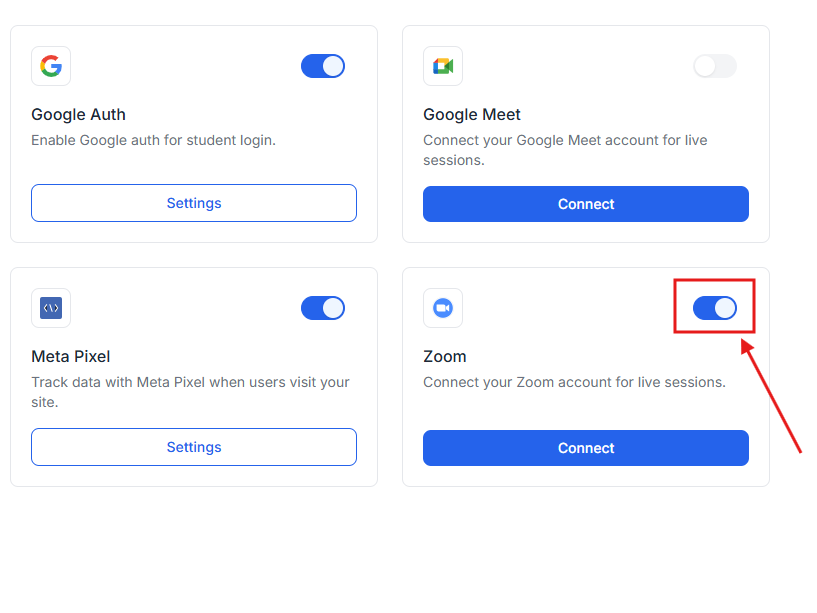
- Head over to Integrations and locate the Zoom widget
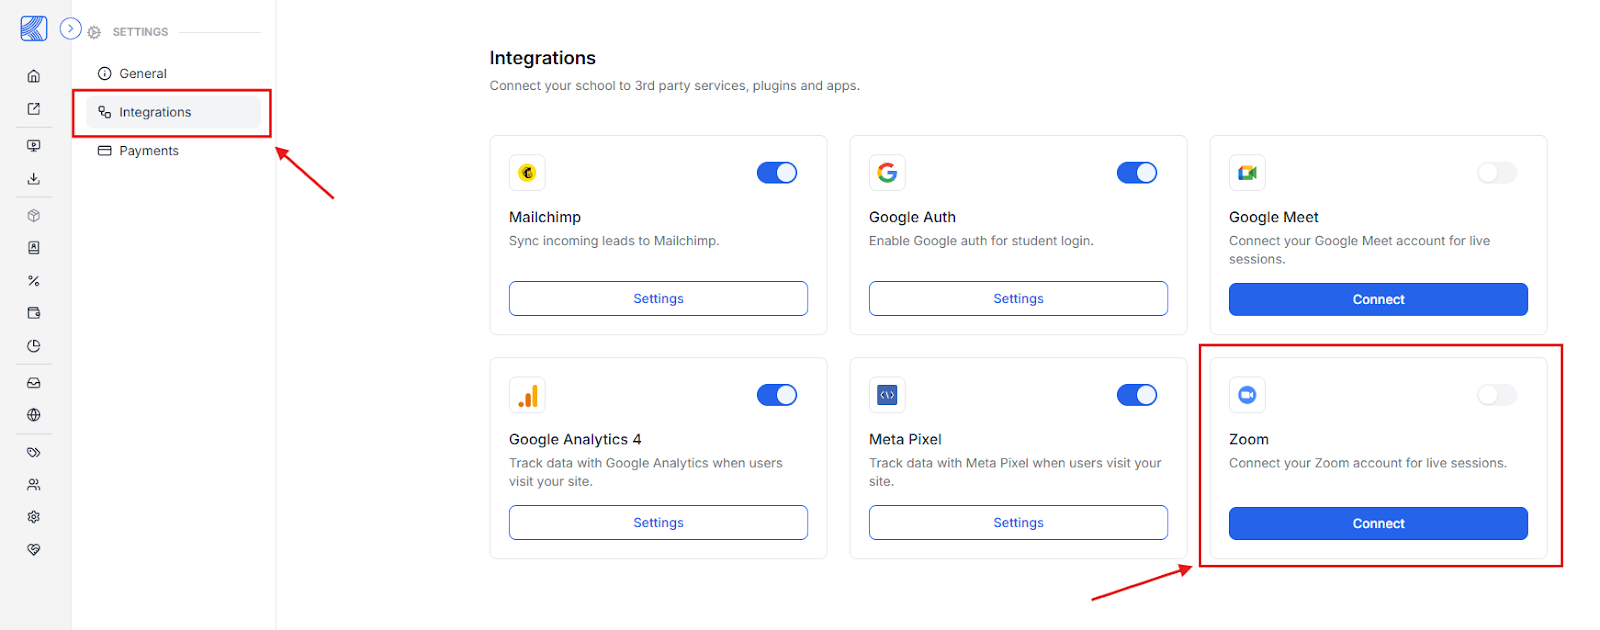
- Click on “Connect”, you’ll be redirected to a new tab
- On the new tab, enter the email address and password for the Zoom account you want to use.
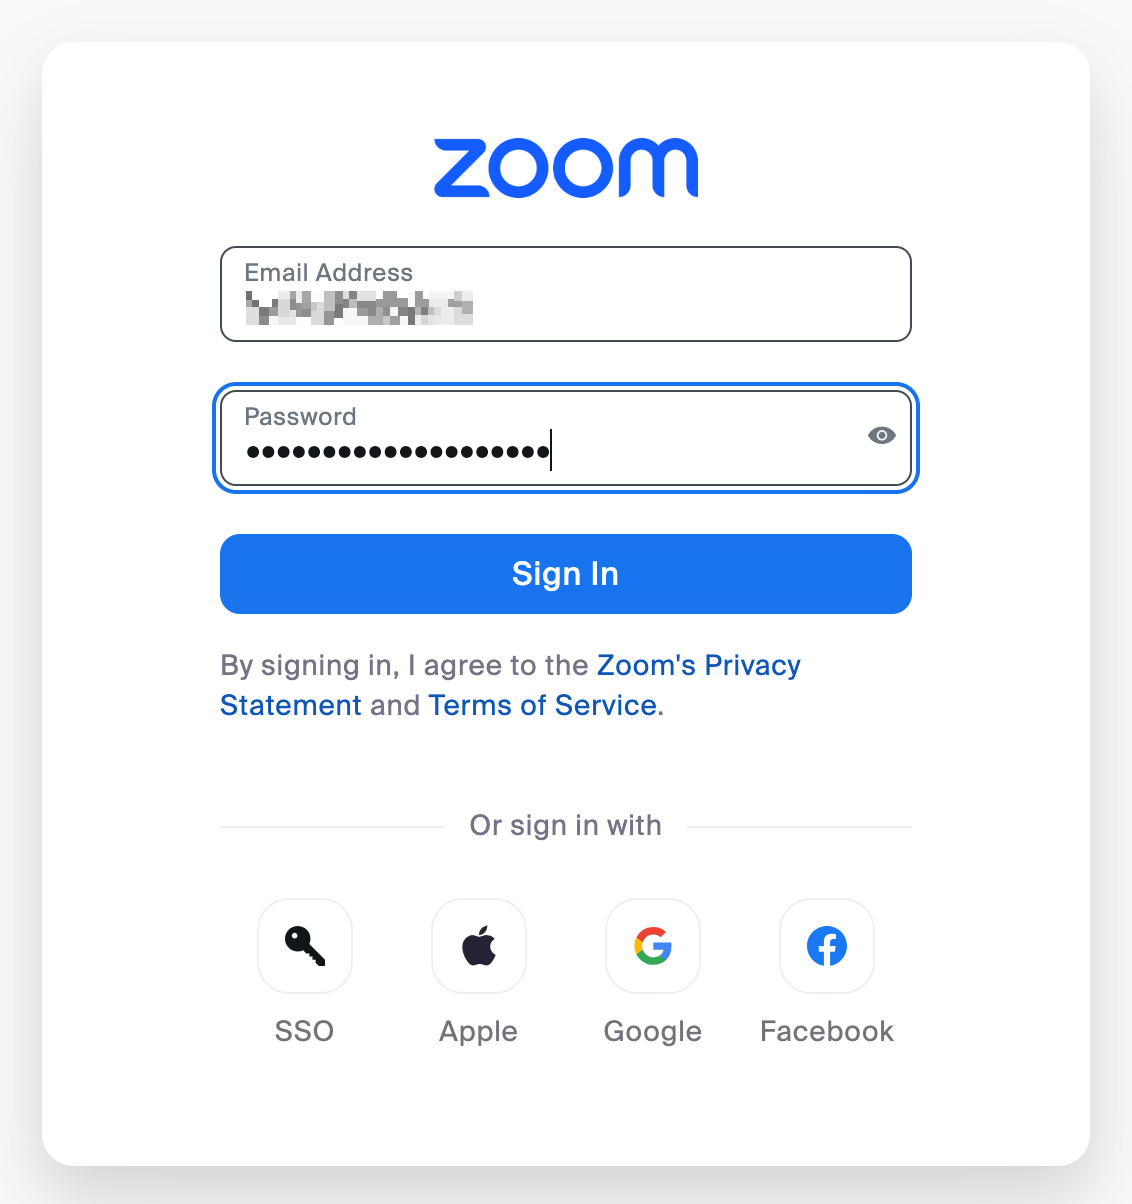
5. Click on “Sign in.”
6. You’ll be taken to a new screen where you’ll be asked to allow access. First, check the box that says “Allow this app to use my shared access permissions” and then click ‘Allow’.

[Please note that if you activate the Zoom integration with a free account, concurrent meetings won’t work as expected.]
- Once configured, you’ll see this toggle button on so that you can conduct live classes using Zoom.
Offering Live Sessions as an Instructor in Klasio
- First, log in to your Klasio instructor account.

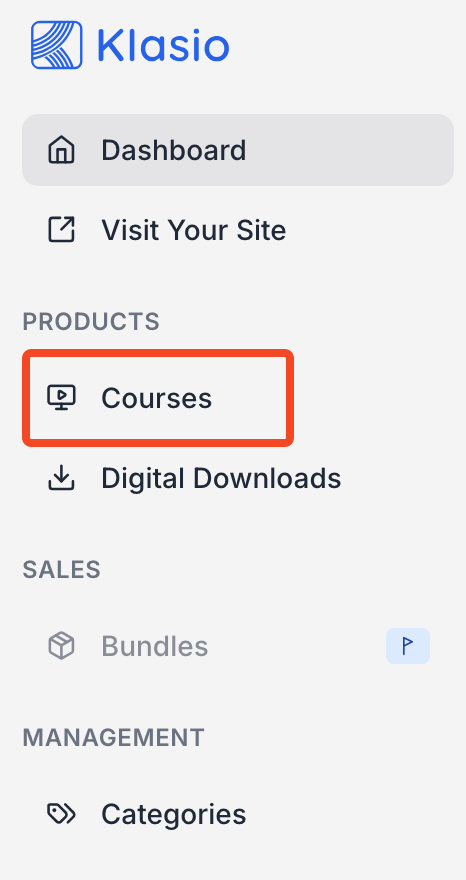
- From the navigation menu, go to “Courses.”
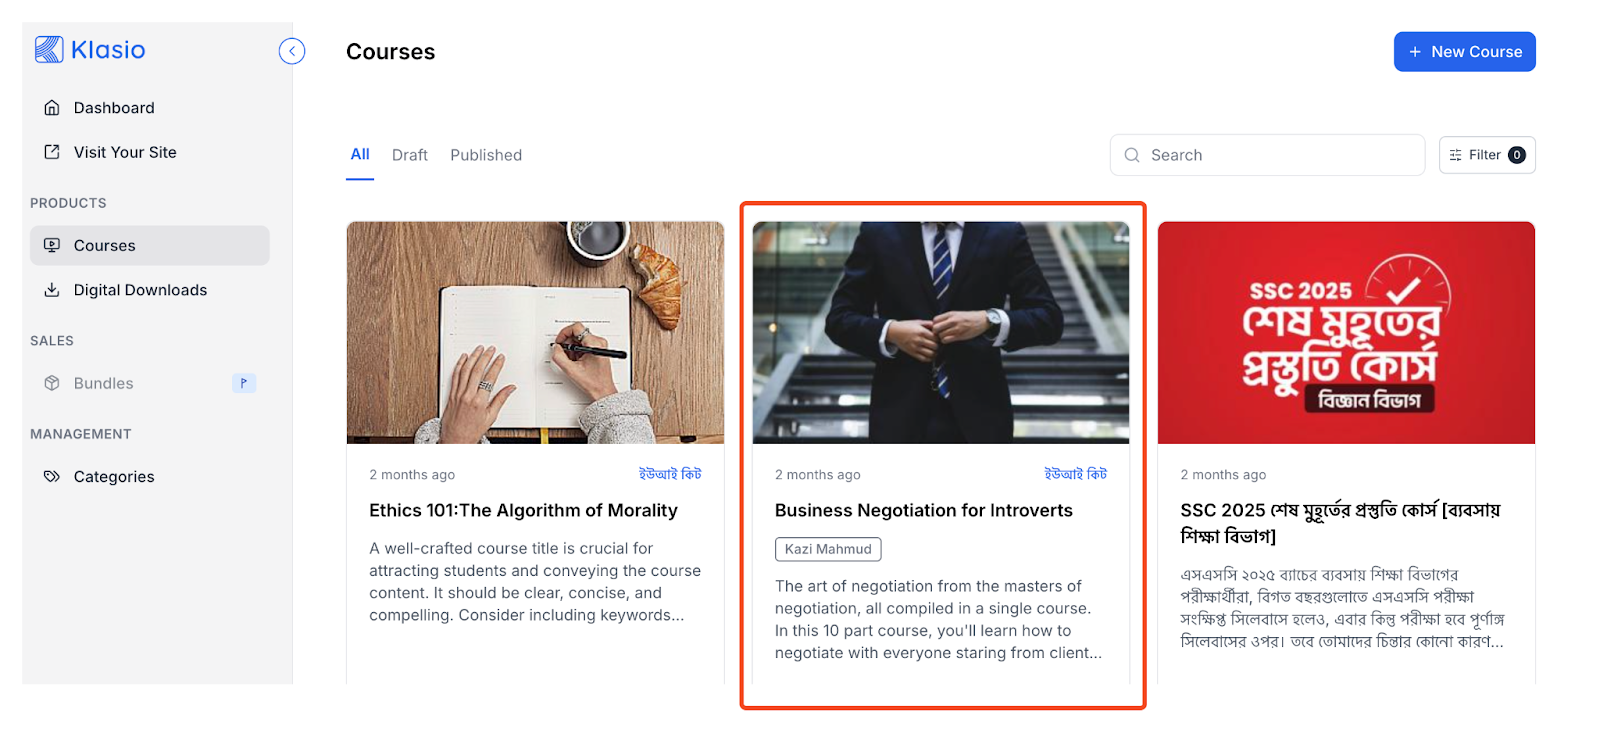
- Choose the course you want to add a live lesson.
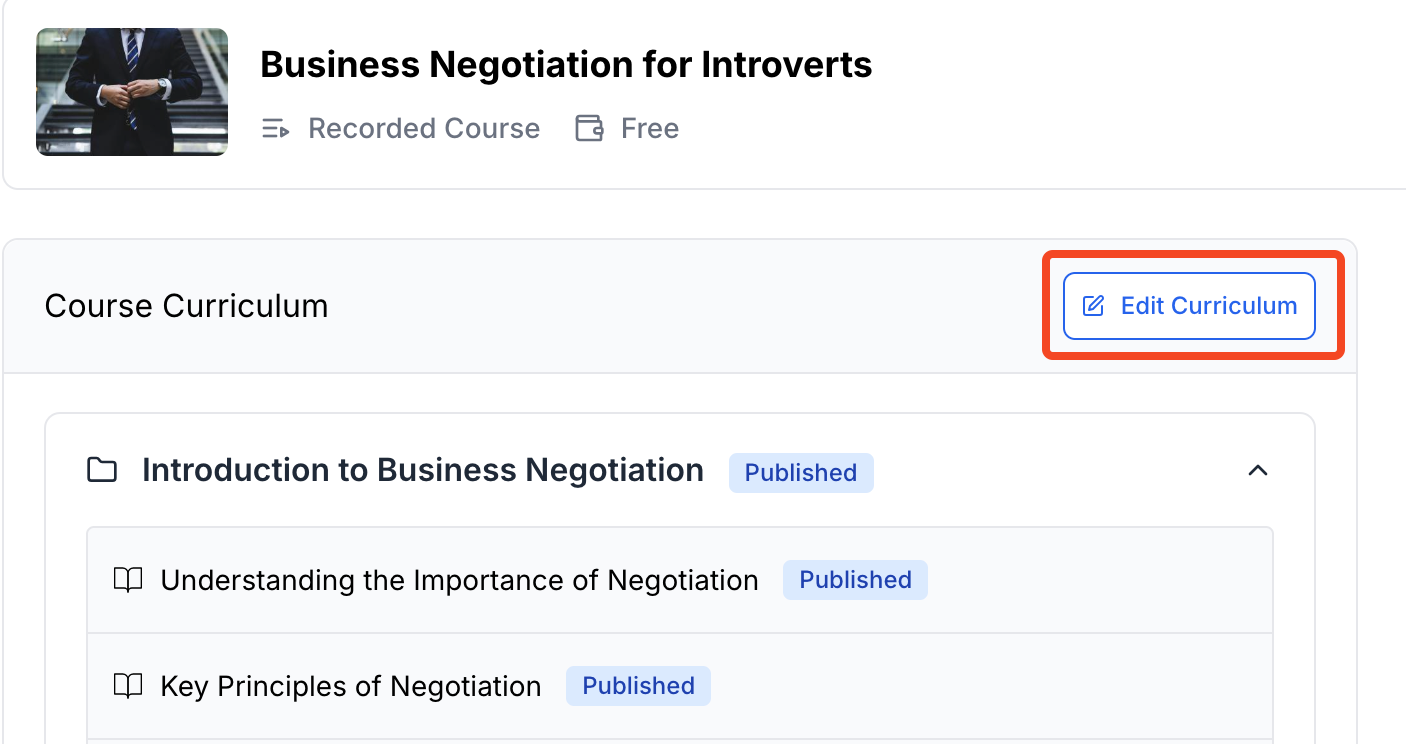
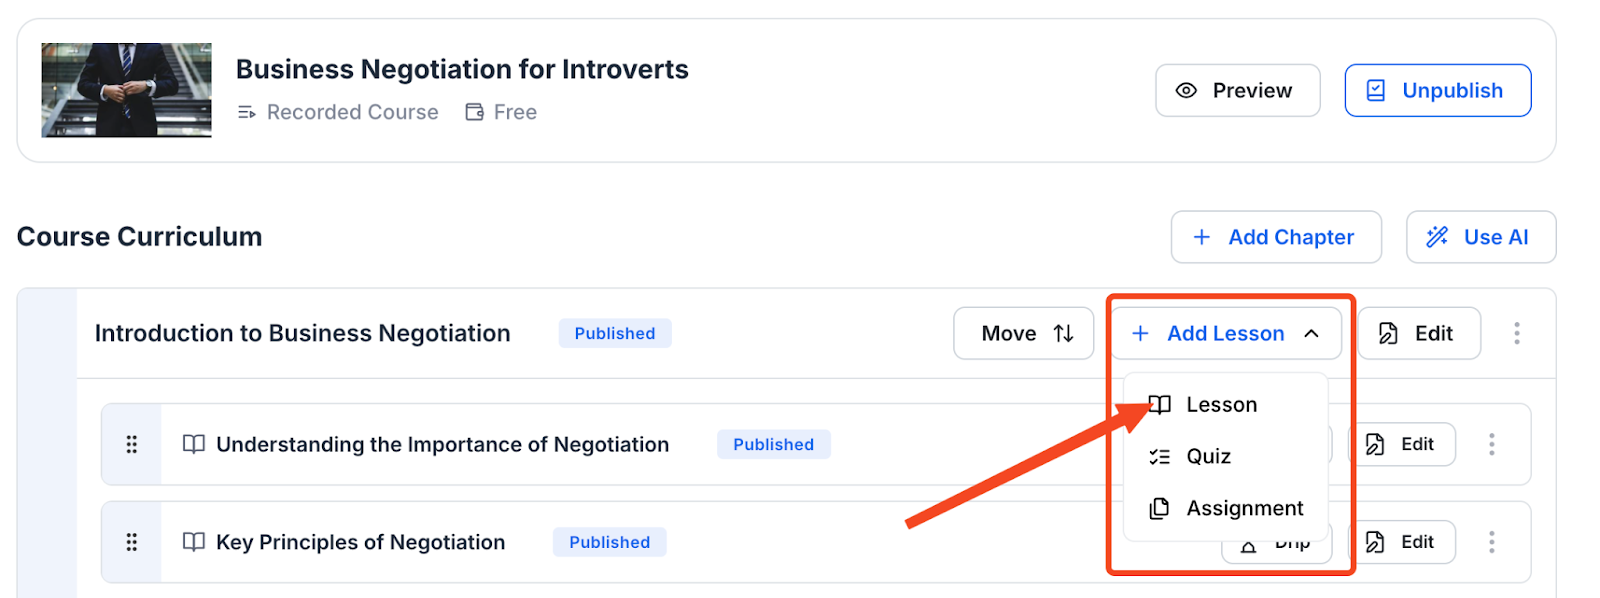
- Click on “Edit Curriculum.”
- Click on “Add Lesson” and from the dropdown, select “Lesson”
- First, give your live session a title, then select “Live Session” and choose “Zoom.” Finally, click on “Create Lesson.”
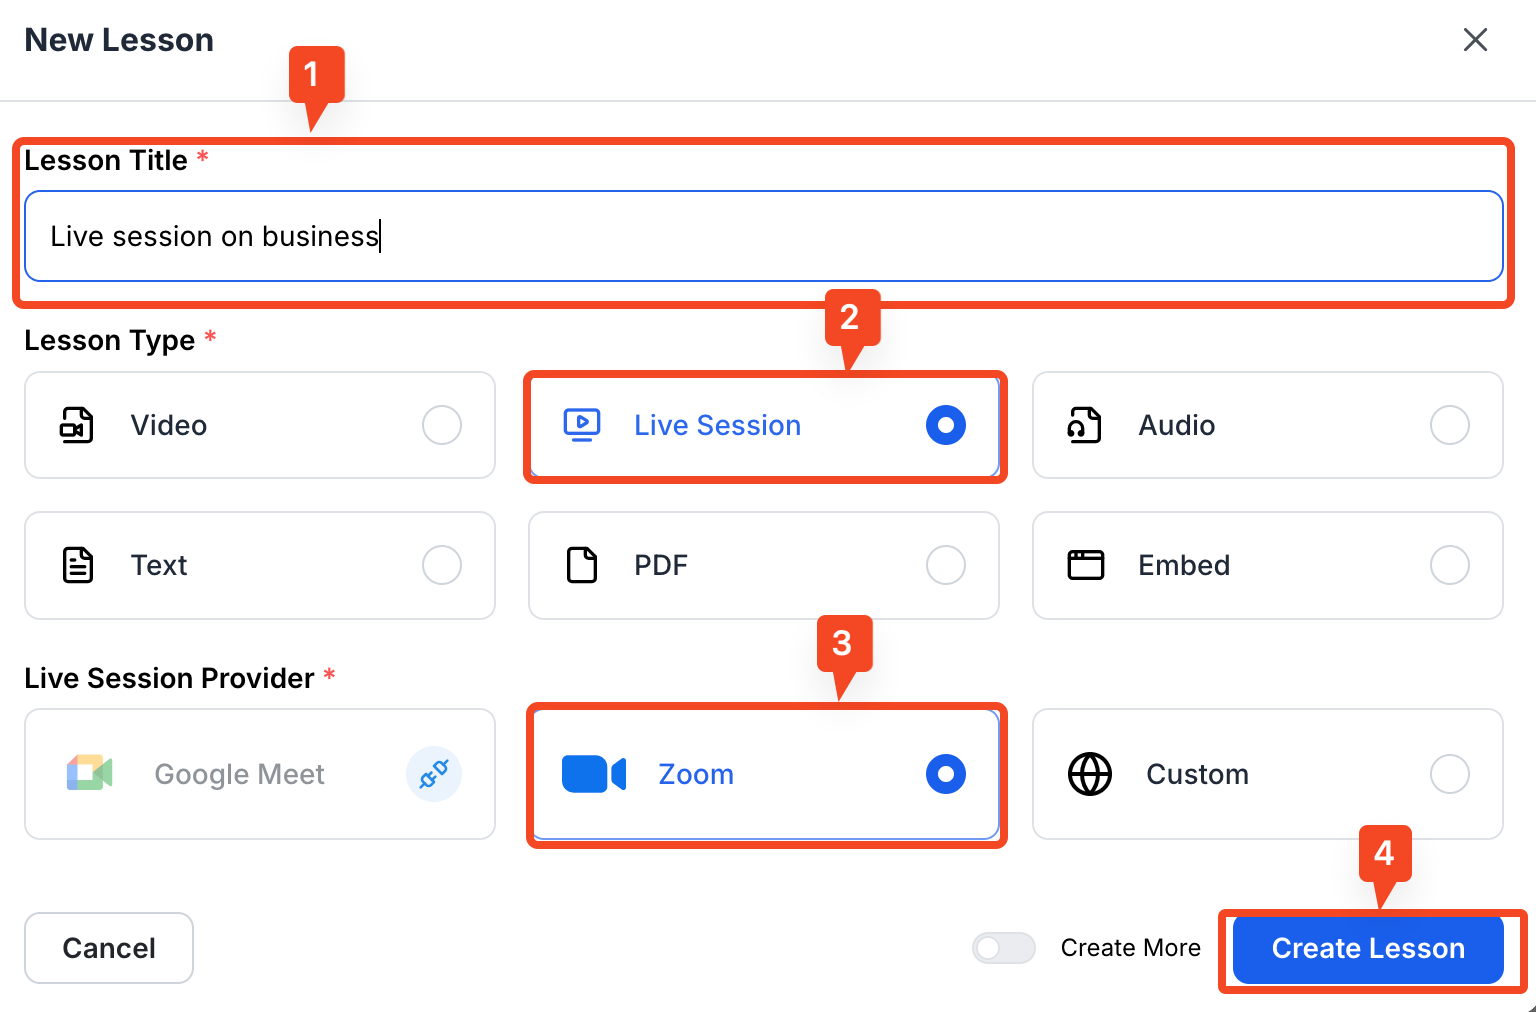
- You will be taken to the lesson editor where you can add a description to explain your live session.

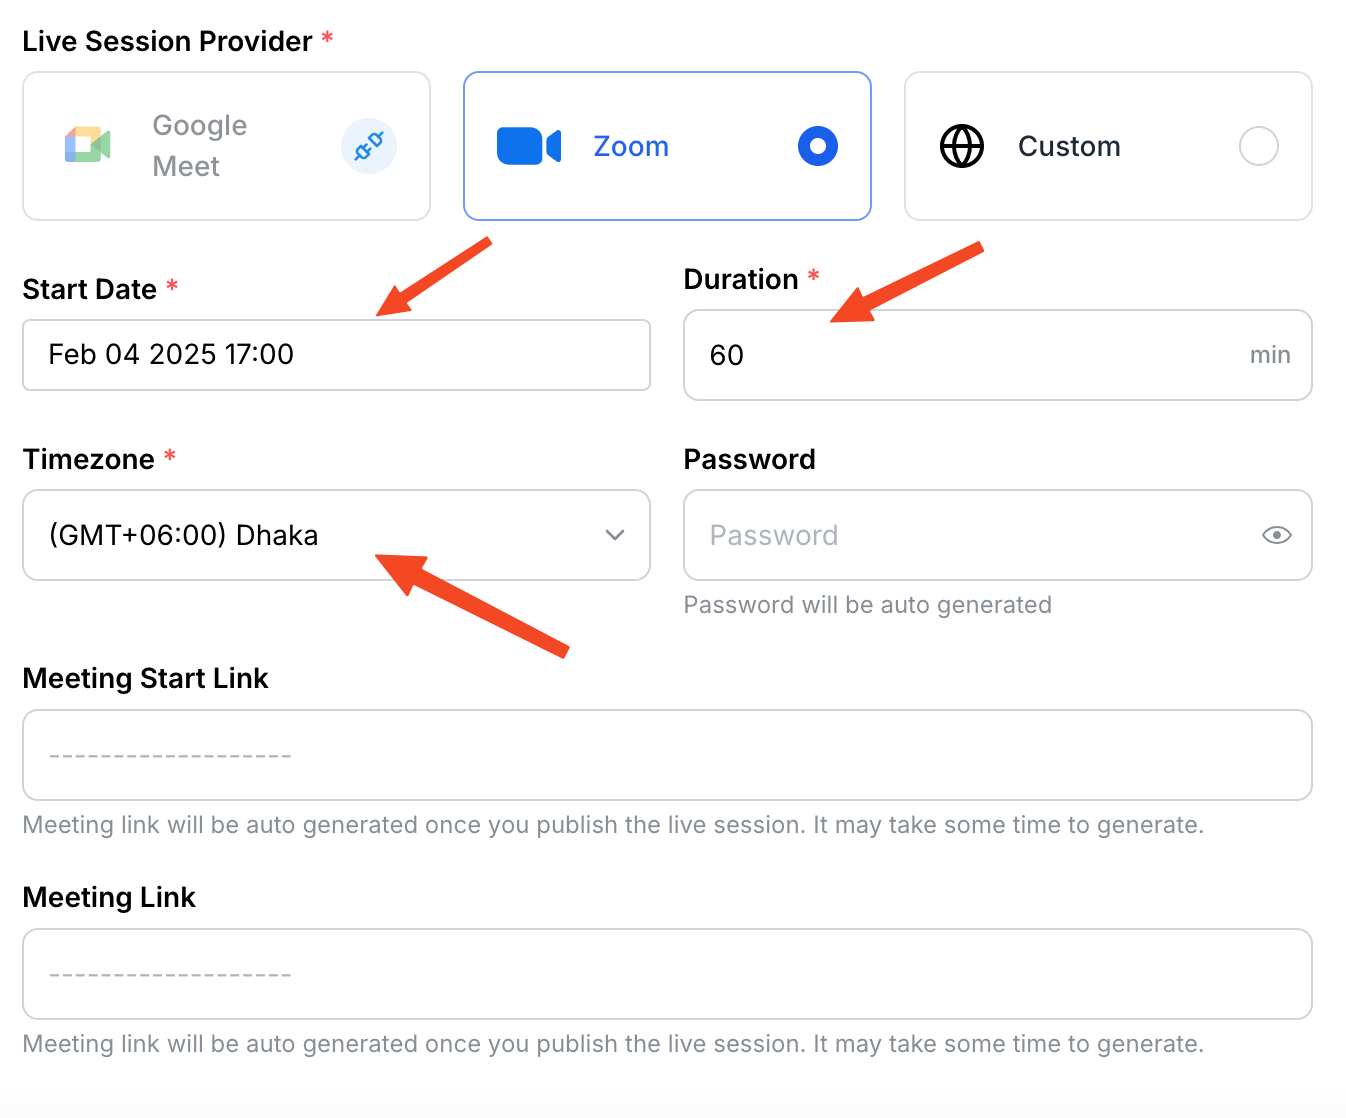
- You can also set essential details such as date, time, duration, and time zone.
- Once you are done, publish the live course and make it public.

- Now, it’s time to save the changes, or you could also see a preview of what the session would look like to your students.

- After publishing and saving the course, you will find the meeting link here.

- Now, copy the Zoom session link and paste it into the browser when it’s time for the session.
Accessing Live Sessions as a Student in Klasio
- First, log in to your student account from the course website.
- Choose the course you are enrolled in for live session.

- Then, choose the lesson that contains the live lecture.
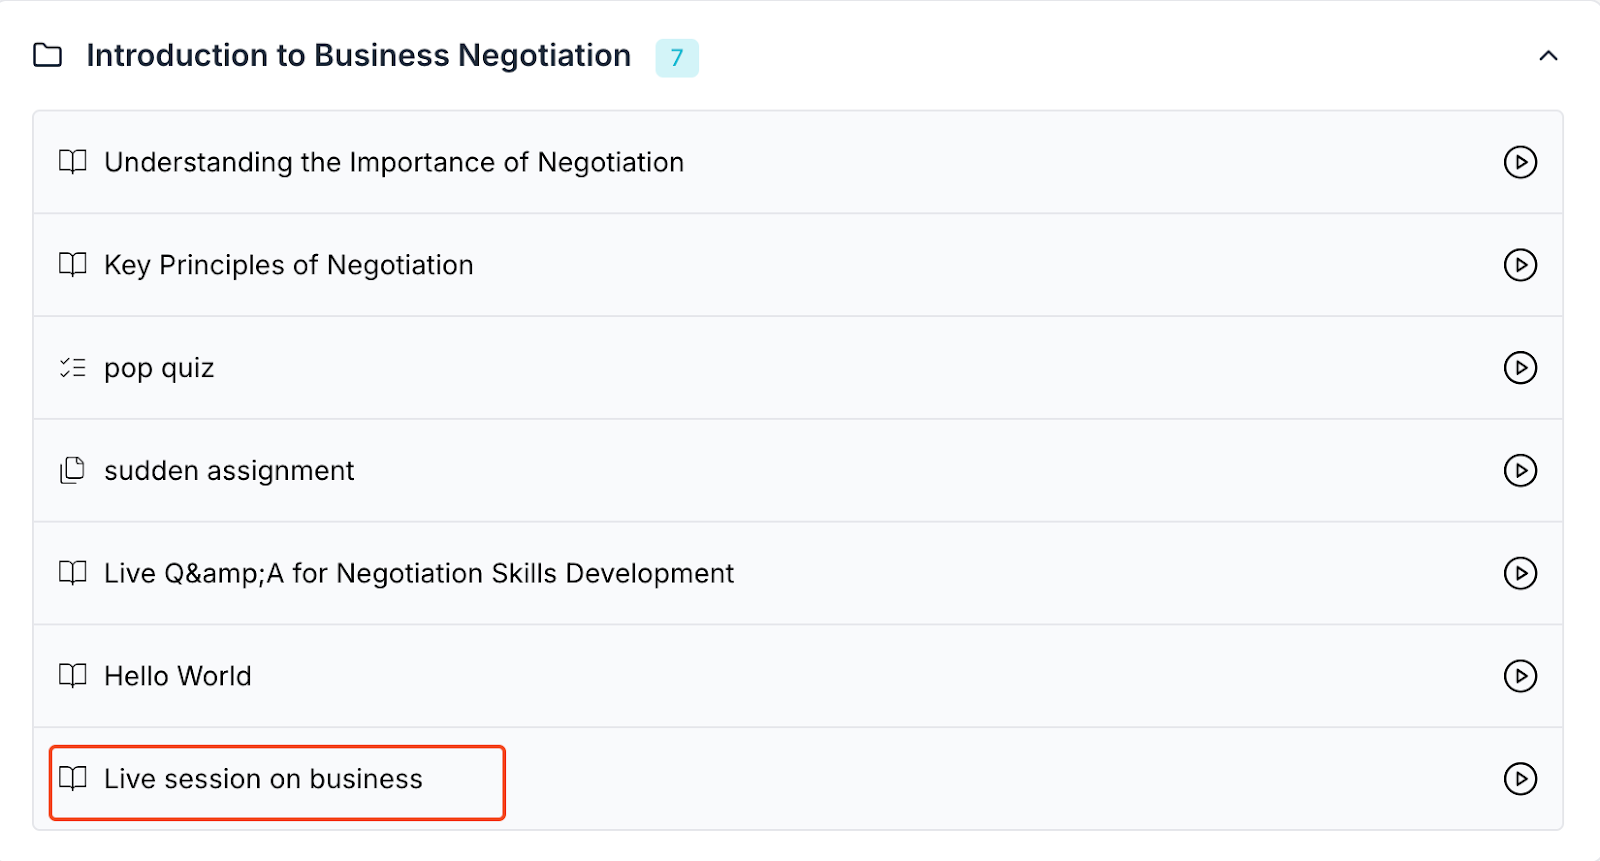
- When you click on the live lesson, you will be directed to a new window where you will get the link to join.
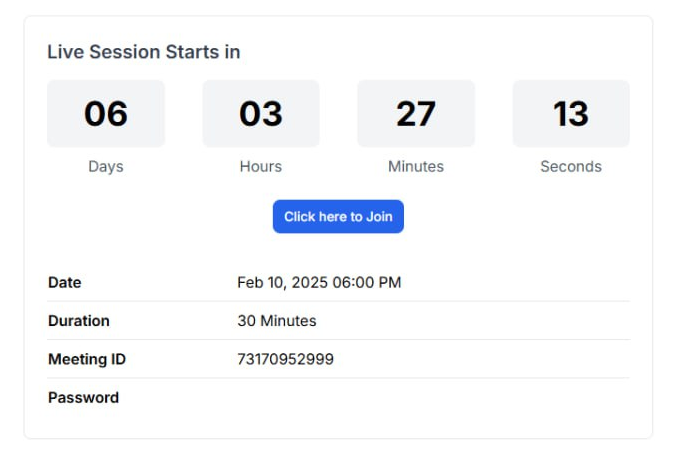
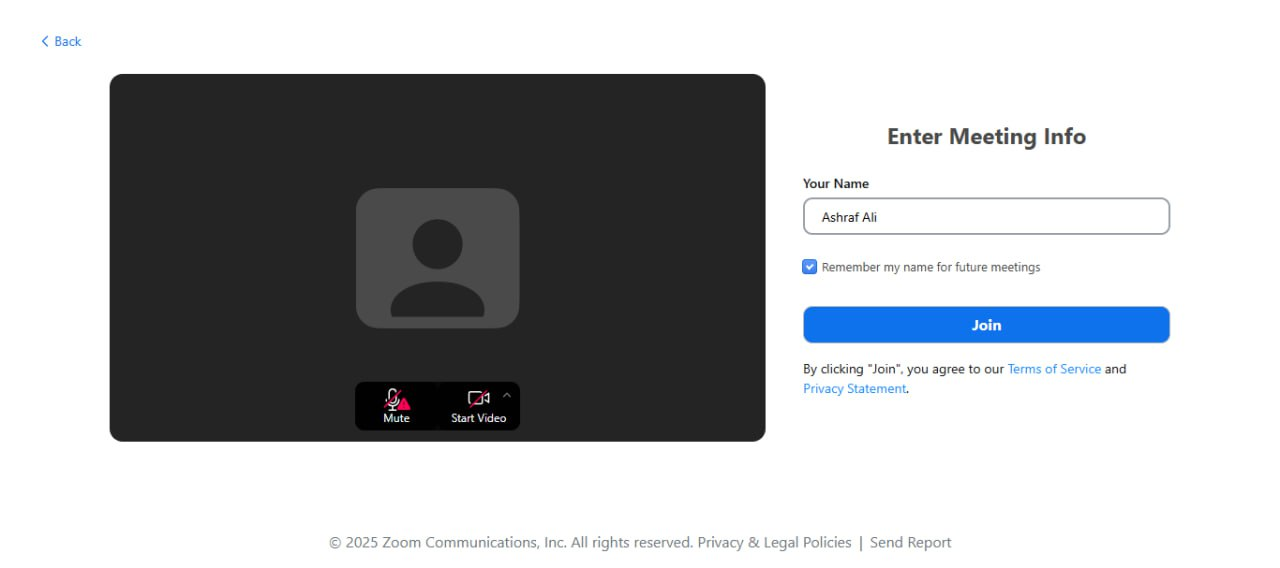
- Once you click on “Click Here to Join,” you will be taken to join the live session. Enter your name and click “Join” to join the meeting.
Testing and Verifying
By now, you’ve successfully integrated Zoom with Klasio. But before you start scheduling live classes, it’s important to make sure everything is functioning properly.
First, create a test meeting from any sample course. Choose a date and time that works for you and name it something like “Klasio Test Meeting.”
Next, head over to the student dashboard. Look for live session you just set up. Click on it to join and see if it opens up your Zoom app. If it does, great job! Your integration is working smoothly.
Now, take a moment to check these additional features:
- Can you edit the meeting details in Klasio?
- Do you see links for both the instructor and student?
- Is the meeting countdown available in the student portal?
Make sure to explore all the features you plan to use for your classes. It’s better to spot any issues now rather than when real students are waiting for their lessons. This testing phase is crucial for ensuring your users enjoy this feature.