1. Home
  2. Docs
  3. Settings
  4. Settings
  5. How to Manually Set Up Payments for Your Academy

How to Manually Set Up Payments for Your Academy

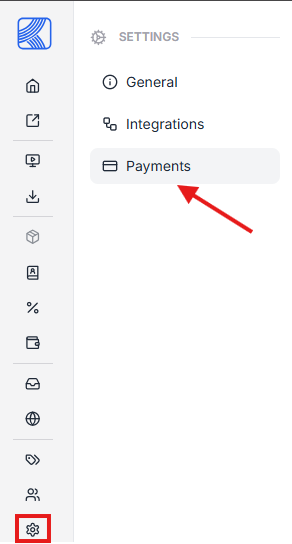
  1. From the admin dashboard, go to Settings>Payments
This image is a screenshot of Klasio Settings menu with the Payments tab in highlight.

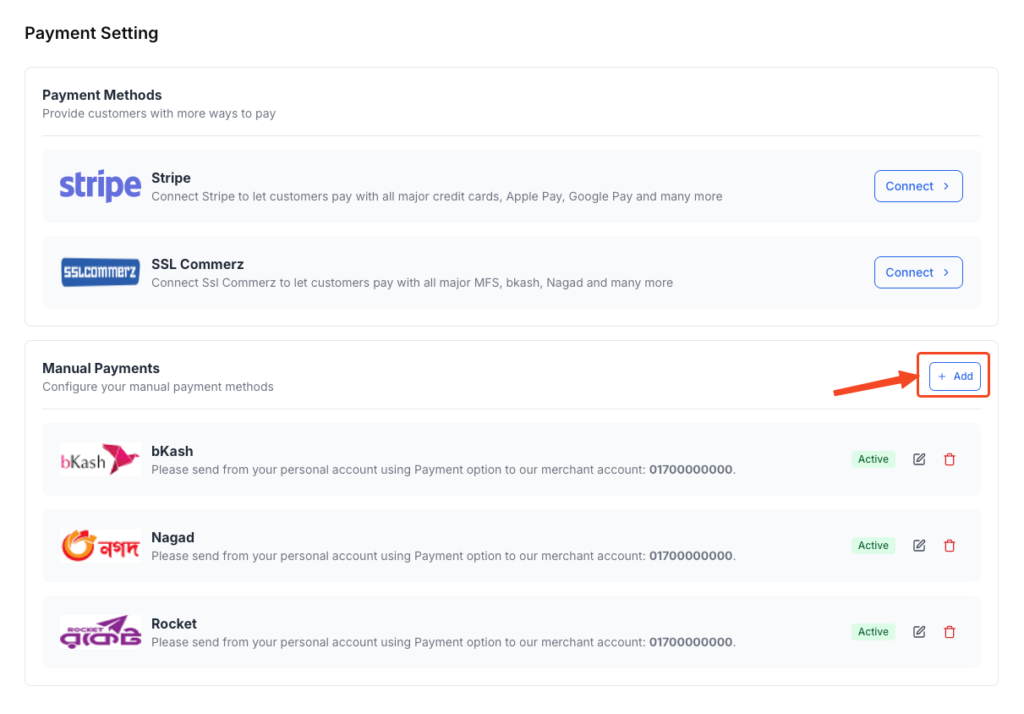
2. Click Add button.

This image is a screenshot of Klasio settinngs menu with the Add button in Payments tab in highlight.

3. Add the logo of your merchant

This image is a screenshot of Klasio Payment Setup window with the option to upload merchant logo in highlight
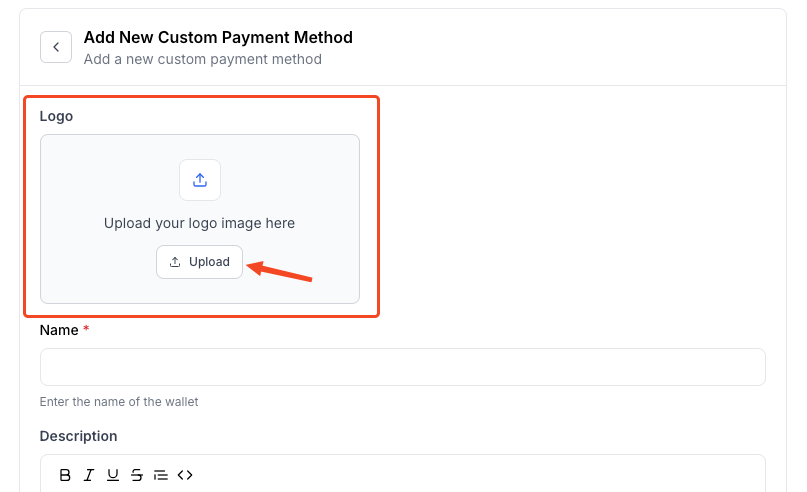
  1. Enter the name of your merchant
This image is a screenshot of Klasio Payment Setup window with the option to enter merchant name in highlight
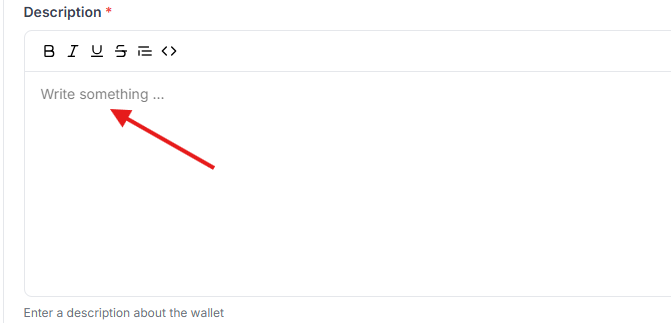
  1. Provide necessary guideline regarding how the customer can make the payment(ie. your merchant account number)
This image is a screenshot of Klasio Payment Setup window with the option to insert merchant description in highlight
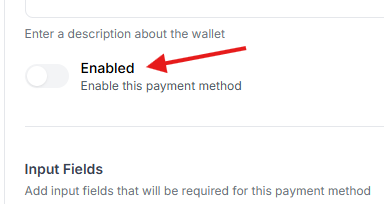
  1. Select if you want to enable/disable this payment method
This image is a screenshot of Klasio Payment Setup window with the option to enable payment method in highlight
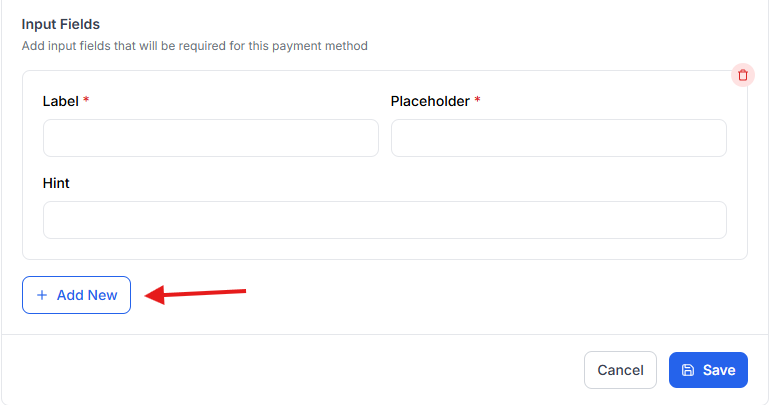
  1. Click Add New if you want to collect any information from your customer such as Transaction ID, Customer merchant account number etc using a form
This image is a screenshot of Klasio Payment Setup window with the option to enable additional input fields in highlight
  1. Hit Save once you’re done.

You can now receive payment using your desired merchant.

How can we help?